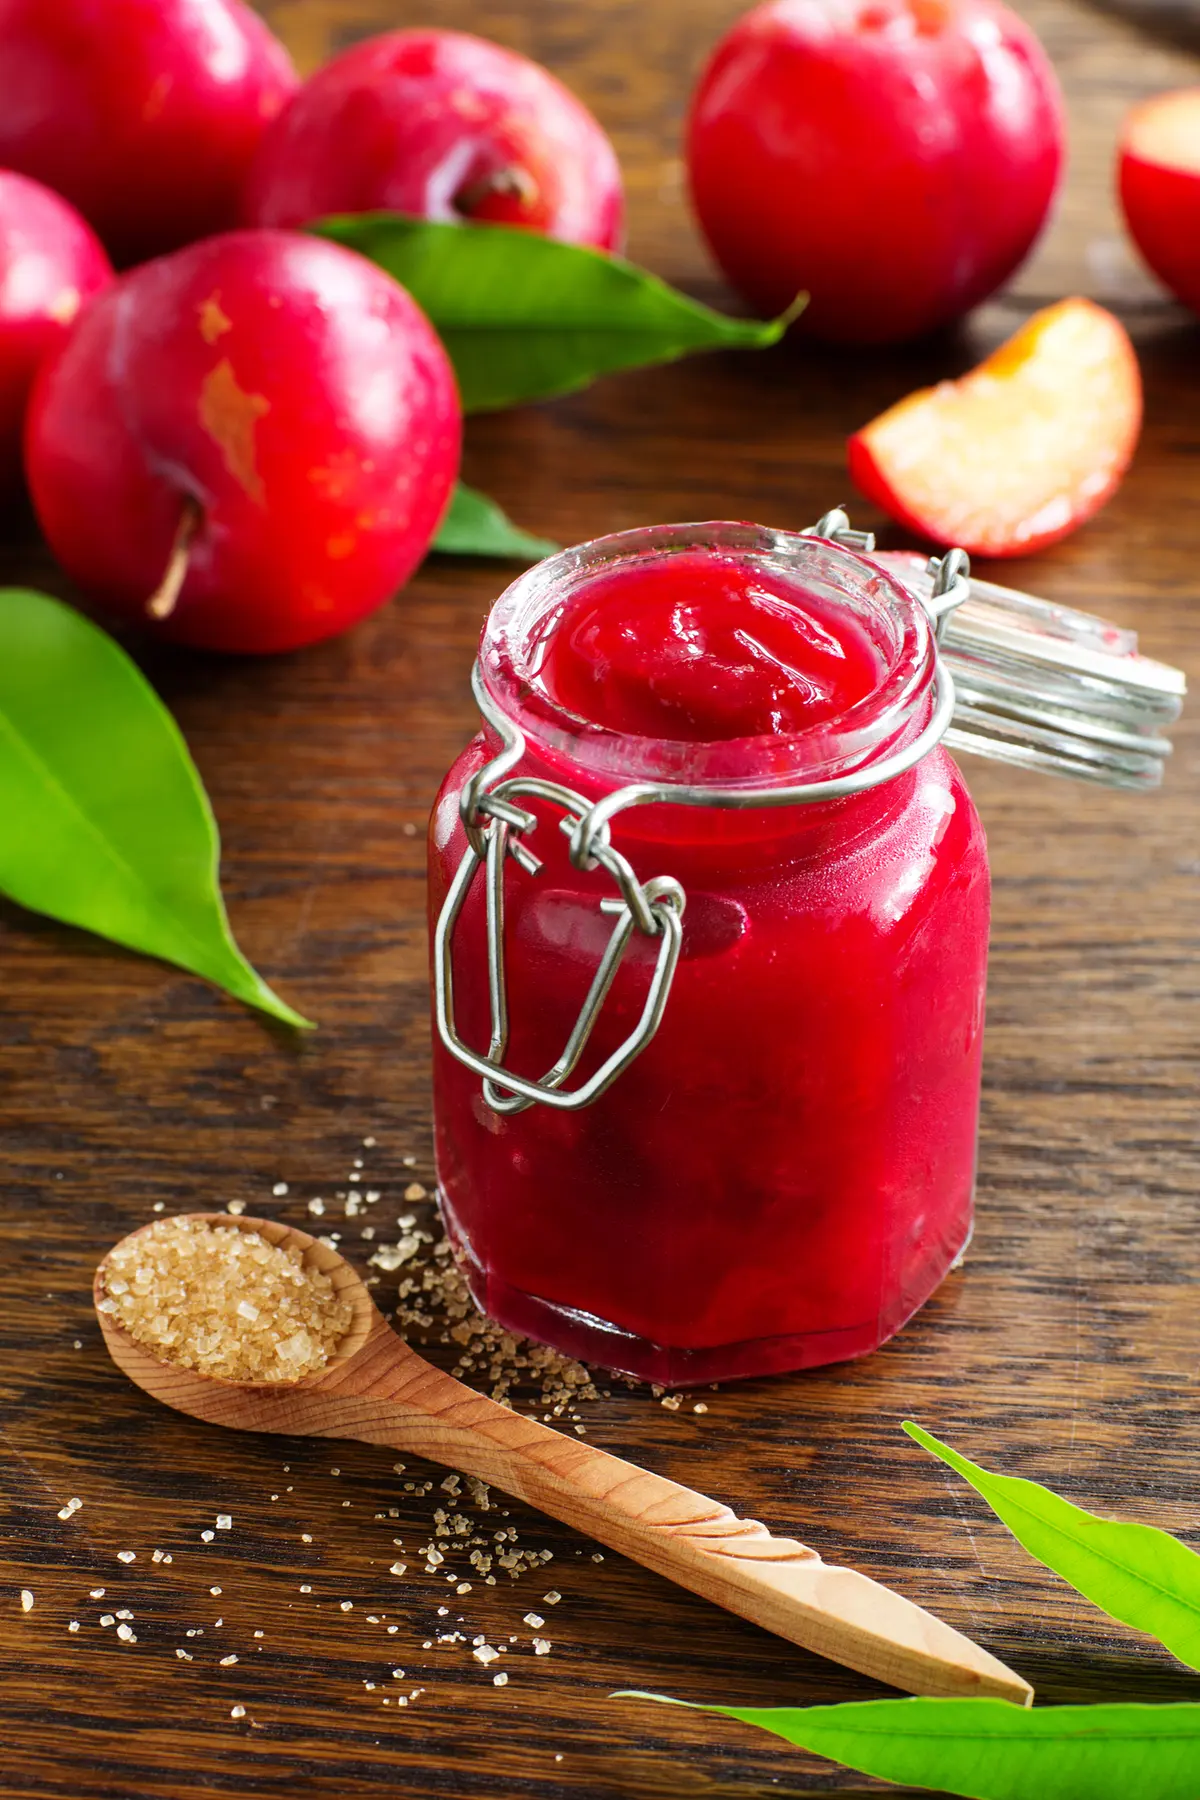
Last August, my counter looked like a plum explosion. Bags of them from my neighbor's tree, from the farmer's market, from that roadside stand I can never pass. I was giving them away in paper bags at the door. And still they kept coming.
Then I remembered my grandmother's hands. How she'd stand at the stove stirring fruit and sugar, not even looking at the pot. How the steam would fog the windows and the whole house smelled like summer trapped in a jar. So I started making jam. And I haven't stopped since.
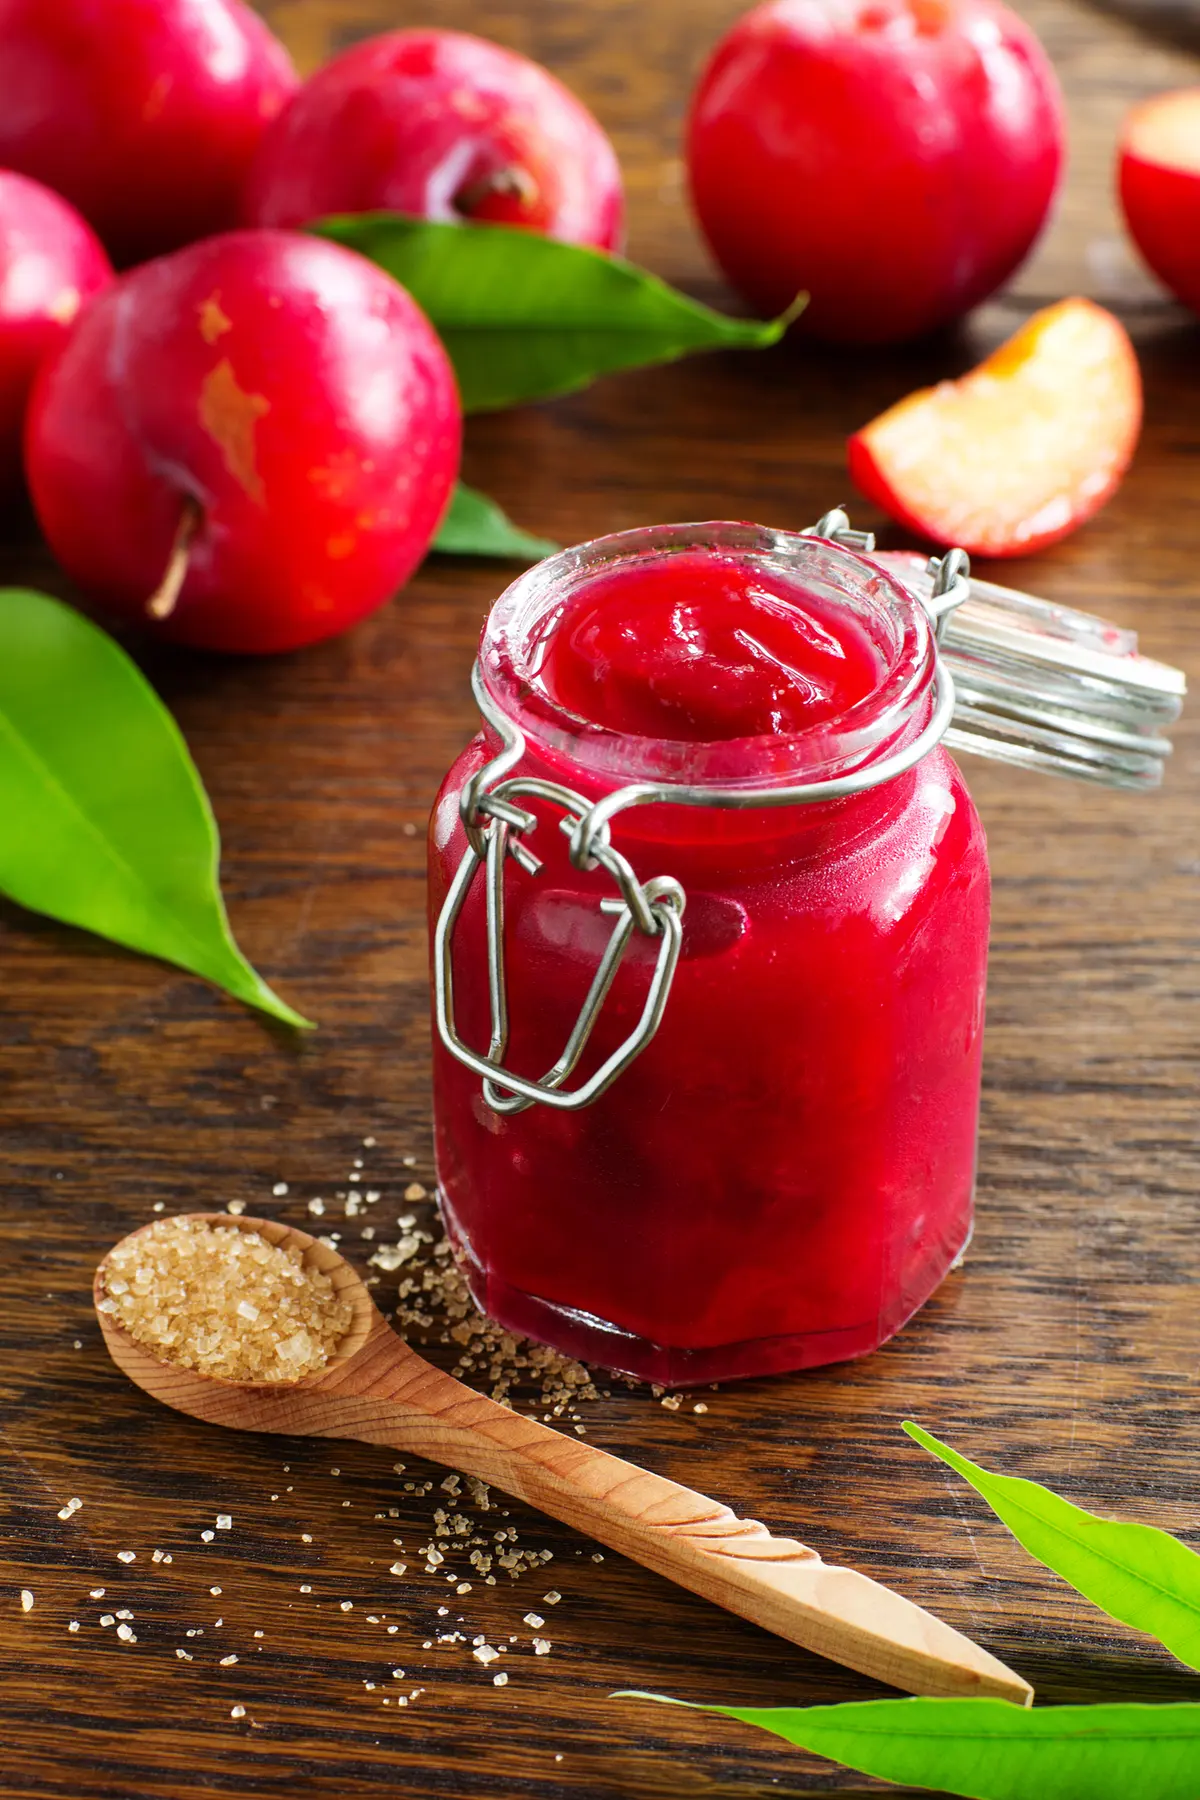
The One Thing That Matters
Ripe plums. Not underripe, not overripe. You want that sweet spot where they yield to gentle pressure but aren't mushy. If they're too hard, your jam will taste thin. Too soft and you'll get a murky mess.
I learned this the hard way. First batch of the season was from plums I picked too early. Jam was fine, but it lacked that deep, sunshine-in-your-mouth flavor. Second batch used plums I'd forgotten on the counter for three days. That one turned into something closer to prune butter.
Now I feel the plums before I buy them. Same way I check avocados, but slower. Trust your fingers on this one.
What You Need
- 2 kg fresh plums, pitted and halved
- 1.5 kg granulated sugar
- 2 tablespoons lemon juice
- 1/4 teaspoon sea salt
- 1 teaspoon vanilla extract
- 2 tablespoons water
That's it. Six ingredients. No pectin, no special equipment, no trips to three different stores.
The sugar seems like a lot. It is. But plums are tart little things. They need that sugar to balance out and to help the jam set. Don't reduce it. I tried once and ended up with plum syrup. Good on pancakes, not on toast.
Lemon juice does two things. It adds brightness and it helps the pectin in the plums do its job. If you're using really tart plums, you can cut the lemon juice to one tablespoon. But I'd keep it at two.
Salt is the quiet hero here. A pinch wakes up the fruit flavor without making anything taste salty. I learned this from a pie crust recipe years ago and now I put salt in everything sweet. Trust me on this.
The vanilla is optional but I never skip it. It rounds out the edges of the plum flavor. Makes it taste like something you'd find in a fancy French patisserie, not your own kitchen. My mom thinks I'm making it up when I tell her about the vanilla. But she always asks for another jar.
Putting It Together
Start with a heavy-bottomed pot. I use my enameled Dutch oven. The wide surface area helps the liquid evaporate faster, which means a thicker jam in less time.
Combine the pitted plums and water. Turn the heat to medium-high and bring it to a boil. Stir occasionally. The plums will start breaking down pretty quickly. That's normal. That's what you want.
Add the sugar, lemon juice, and salt. Stir until the sugar dissolves completely. This takes about five minutes. Don't walk away. Sugar likes to scorch on the bottom of a pot when you're not watching.
Reduce the heat to medium and let it roll. A rolling boil means the surface is covered with bubbles that can't be stirred away. That's the sweet spot. Keep it there for 30 to 40 minutes. Stir every few minutes to keep the bottom from burning.
Your kitchen will look like a crime scene by this point. Purple splatters on the stove, on the wall, maybe on your shirt. I keep a damp towel next to the stove just for wiping up between stirs.
My daughter once asked me why I don't just use a splatter screen. I told her I like the chaos. But really, I just forget to put it on.
The One Thing That Can Go Wrong
It won't set. This happens to everyone at least once. The jam looks right in the pot, you spoon it into jars, and the next morning it's runny enough to pour off toast.
Here's your fix. Don't trust what the jam looks like in the pot. Trust the cold plate test. Put a small plate in the freezer before you start cooking. When you think the jam might be done, drop a spoonful on the cold plate. Wait 30 seconds. Tilt the plate. If the jam wrinkles and moves slow, it's done. If it runs like water, keep cooking.
I always forget to do this test until the jam has already been boiling for 25 minutes. I have no idea why I can't remember it. But it works every time I actually do it.
Finishing Up
When the jam passes the cold plate test, pull it off the heat. Stir in the vanilla extract. Skim off any foam with a spoon. You don't have to be obsessive about it, just get the big stuff.
Let it cool for five minutes in the pot. Then ladle it into sterilized jars. Leave about a quarter-inch of headspace at the top. Wipe the rims clean, screw on the lids, and let them cool completely on the counter.
You'll hear the lids pop as they seal. That sound never gets old.
Store them in a cool, dark place. They'll keep for up to a year. If you open a jar and see mold, toss it. But I've never had that happen. The sugar is a natural preservative.
How to Eat It
On toast with butter. That's the obvious one. But try it on a cheese plate with a sharp cheddar or a soft goat cheese. The sweetness cuts through the fat and salt and makes everything taste more interesting.
Stir a spoonful into yogurt. Swirl it into oatmeal. Spoon it over vanilla ice cream. My husband puts it on pancakes and then eats the rest straight from the jar. I pretend I don't notice.
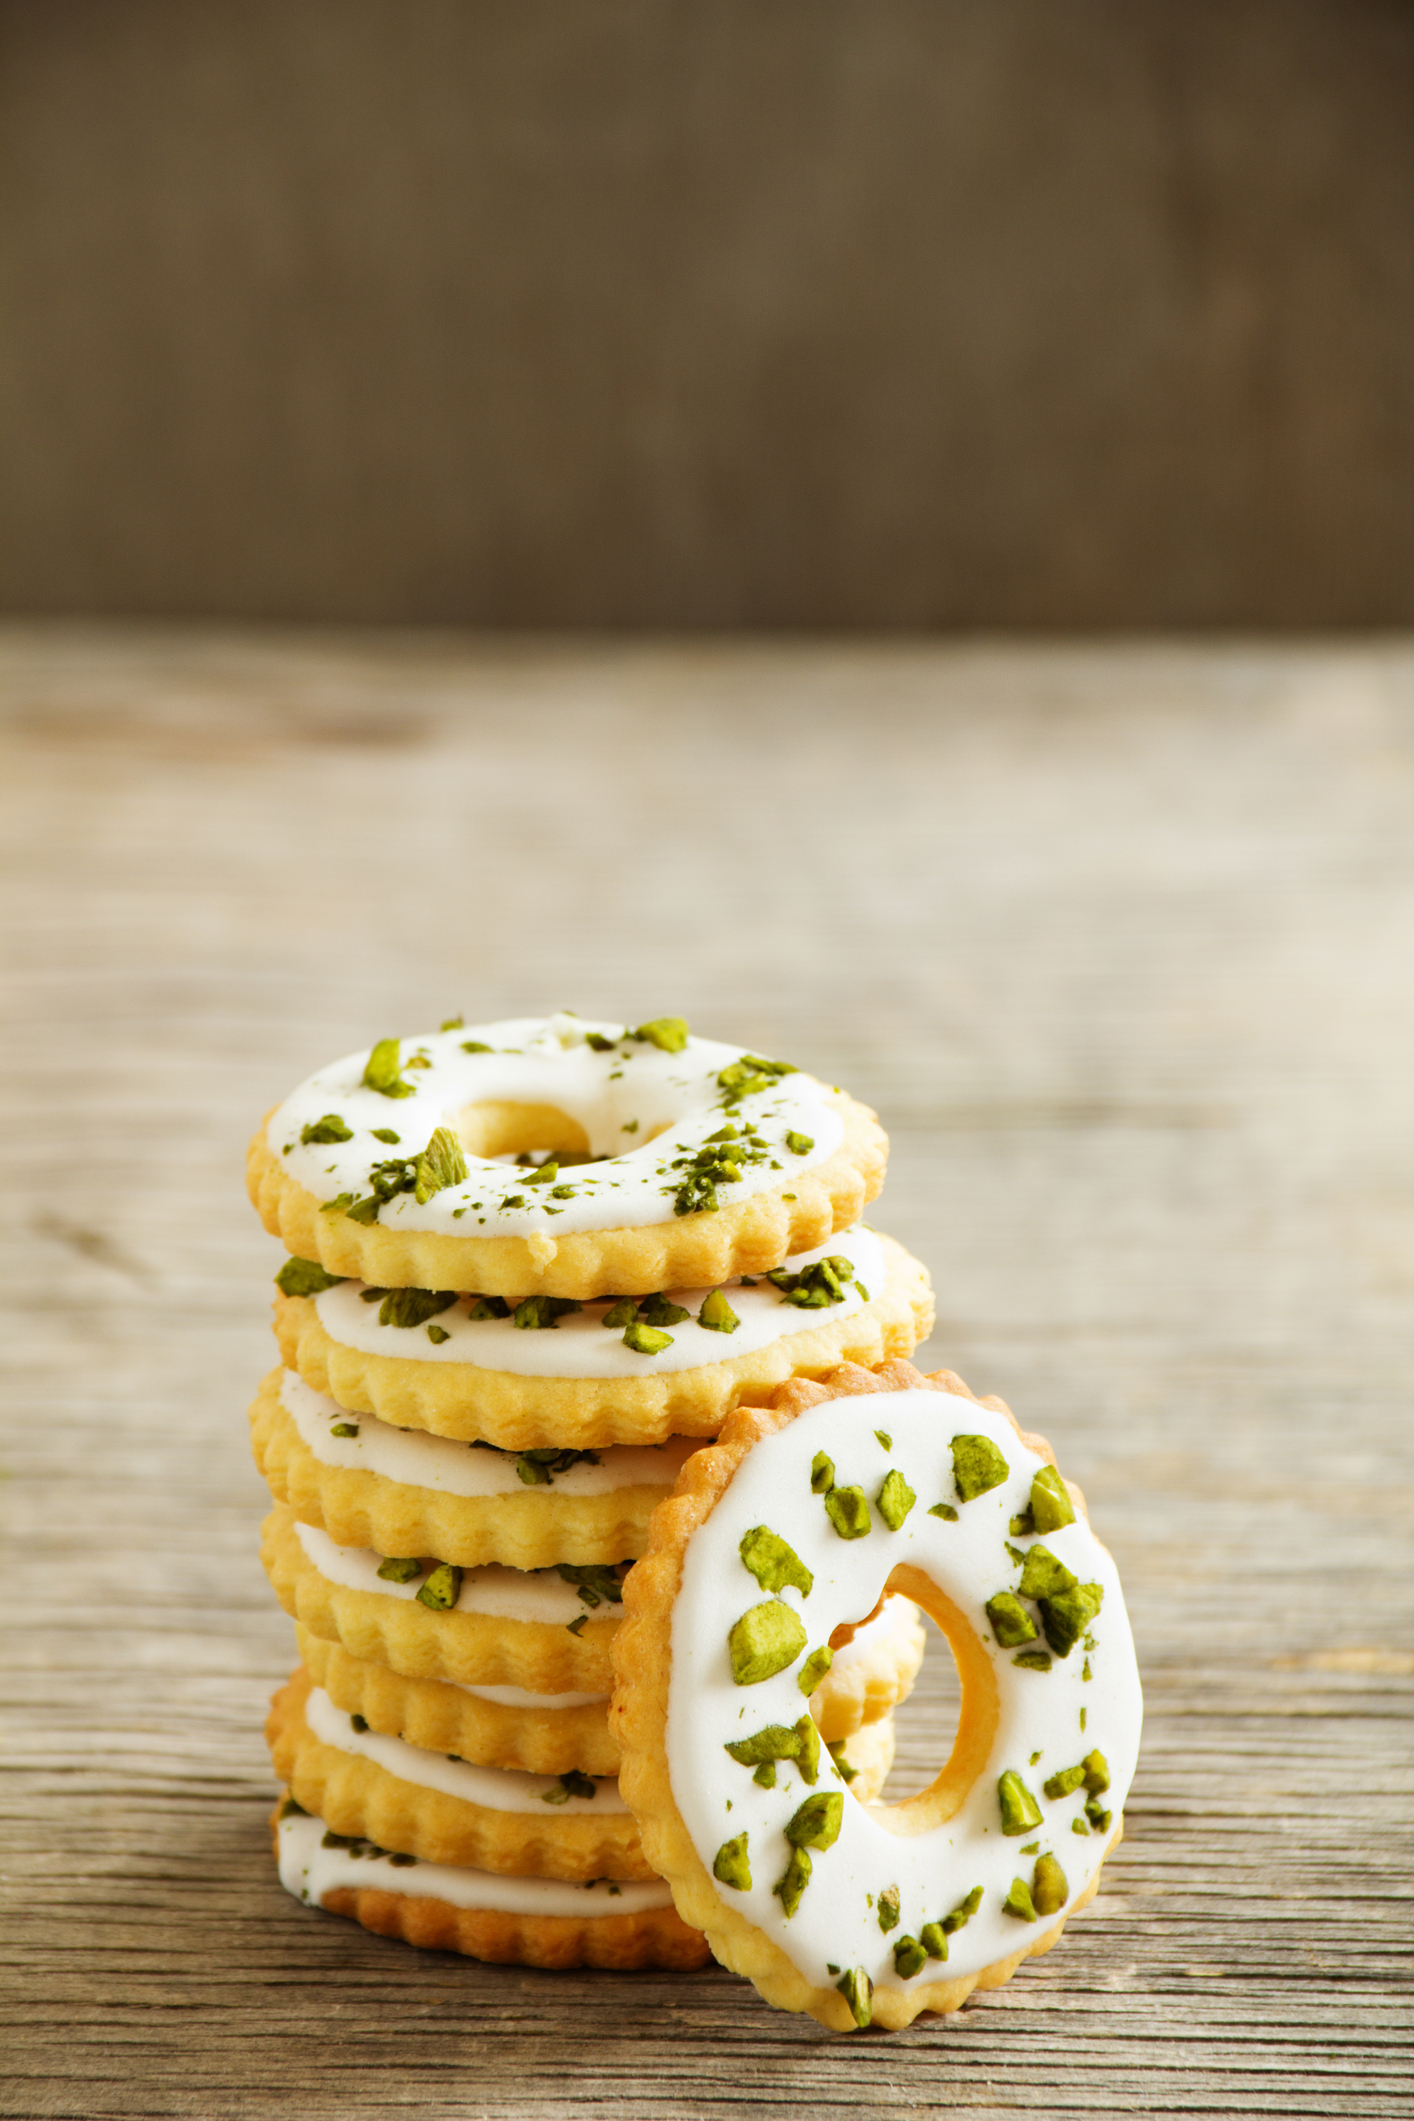
It's also good in thumbprint cookies. Or as a filling for linzer bars. Or just spread on a warm scone with clotted cream. However you eat it, it's better than anything from a store.
And that's it. Plum jam that tastes like summer in a jar. No fancy techniques, no complicated steps. Just ripe fruit and time and a little attention. The way it should be.
Homemade Plum Jam Recipe Bursting With Summer Flavor
Ingredients
- 2 kg fresh plums, pitted and halved
- 1.5 kg granulated sugar
- 2 tablespoons lemon juice
- 1/4 teaspoon sea salt
- 1 teaspoon vanilla extract
- 2 tablespoons water
Instructions
- 1Combine pitted plums and water in a large heavy-bottomed pot
- 2Bring to boil over medium-high heat, stirring occasionally
- 3Add sugar, lemon juice, and sea salt to the pot
- 4Stir continuously until sugar dissolves completely
- 5Reduce heat to medium and maintain a rolling boil for 30-40 minutes
- 6Test jam consistency by placing a spoonful on a cold plate and tilting it
- 7When jam wrinkles and moves slowly, it is ready
- 8Remove from heat and stir in vanilla extract
- 9Skim off any foam from the surface with a spoon
- 10Pour jam into sterilized jars leaving 1/4 inch headspace
- 11Seal jars with lids and let cool completely at room temperature
- 12Store in a cool, dark place for up to 1 year